Creating a New Campaign
Campaigns allow your project/survey to be sharable to a wider audience through media such as email, SMS, links and QR codes.
Where a survey by itself is usually limited to a group of specific users or locked into a tablet/mobile device, a campaign offers unlimited reach to a much wider audience.
Before you start creating a campaign, you must first have created the survey itself. You can do this in the "projects" section of the Gather system. Click here for more information on setting up a new project.
To create a new campaign, click the "campaign" button on the left-hand side of the Gather system homepage.
Then click "new":
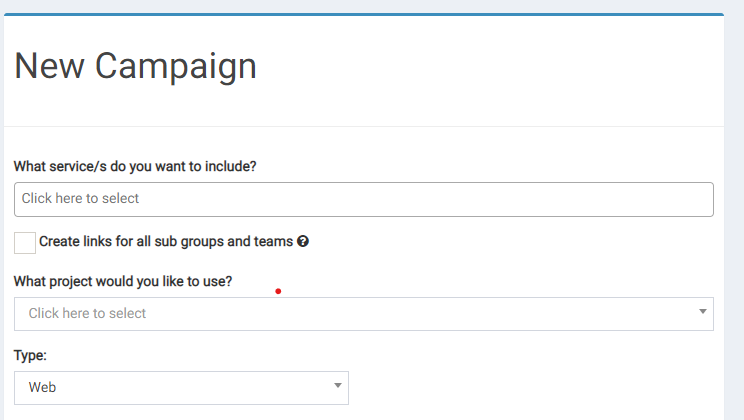
First, you will need to decide on where you want to run the survey, i.e. what departments, groups and subgroups is it relevant to.
Multiple groups can be selected if you wish. If you are not sure of where a department sits, it might be useful to jump back to the "services" section of the platform and click on the "show organisational structure" button in this section.

Tick the box for "create links for all subgroups and teams" if you would like each sub department (that sits under the department that you have chosen in step one) to have different links to the survey, or leave it unticked if you only need one link.
The next step is to choose the project (survey) that you would like to use for your campaign. As mentioned previously, setting up a project is the first step to creating a campaign, so if you haven’t yet set up your project you will need to do this first.
Next, you need to decide on the type of campaign that you would like to create from the drop-down list:
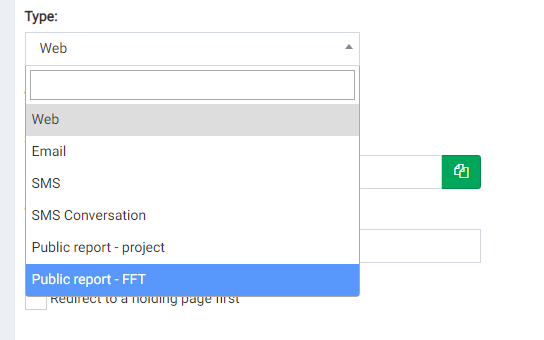
Web: This creates a link to your survey that you can share and use on your online communication platforms, most commonly on a website. You can also create a QR code for your survey here.
Email: This allows you to share your survey via email. Email is especially useful when conducting surveys as it allows you to track engagement more closely and offers more engagement opportunities such as following up with those respondents who haven’t opened/completed the survey. It also allows for opt out options if people don't want to participate.
SMS (Text message): Similar email but with the advantage that it may get more attention by being sent via SMS but also has the disadvantage that it costs money to send via SMS (where email is free).
Public Reports (project/FFT): These are public reports on the survey results with the FFT report being a link to the FFT report specifically.
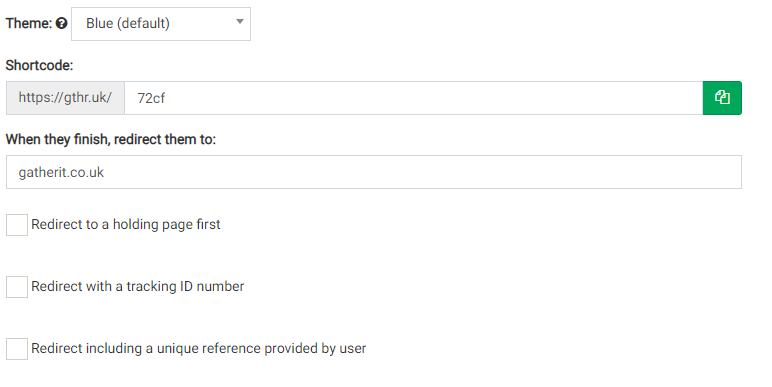
Next, you can decide on the theme that you would like your survey to have, this is simply that colour that will appear at the top of your survey. Once you generate your campaign you will see how it looks, and if want to change it can edit it very easily with the editing tool.
Next, insert the link to the website that you would like to direct the user to when they are finished the survey and decide if you would like to direct them to a holding page first (eg. thank you for completing this survey) before leading them to your website.
You also have the option to redirect with a tracking ID number and/or using a unique reference number. This allows for more advanced tracking of responses and often will require the user’s permission. You might use this when you are doing a focused survey, for example on how a particular group of patients are recovering after a particular surgery. This feature is less commonly used in your everyday campaign but has many advantages for a more targeted campaign.
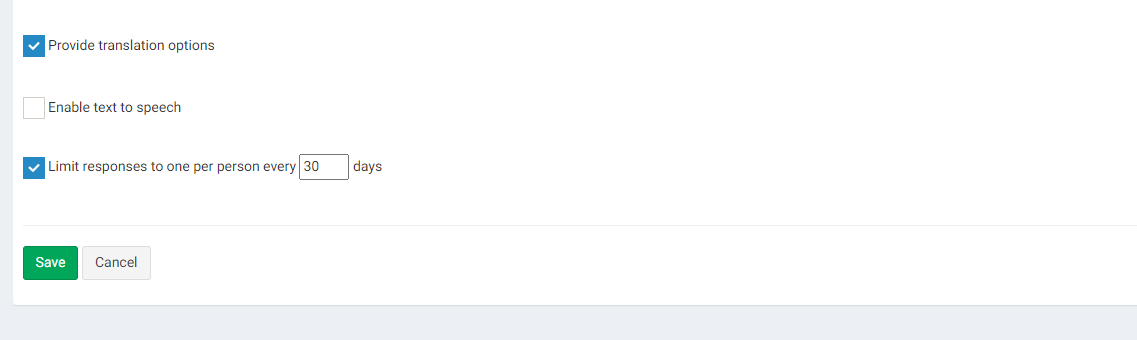
If the "Provide translation options" button is ticked, then the user can have the option to translate the survey into their chosen language through a drop-down menu on the survey. The languages offered are the top twenty languages spoken worldwide.
You can also choose to put a limit on how often a user can fill out the survey and define that limit here. This is a useful tool as it makes sure that each respondent only has the opportunity to complete the survey once.
When you are happy, simply hit the save button and you will be brought to your campaign page. And that is it! You have created your first campaign.
More information on editing your campaign and launching your campaign can be found here.