Launching a Campaign
Once you are happy with both your survey and the way in which your campaign is set up you are ready to launch it.
Each campaign page will behave slightly differently dependent on what kind of campaign you have chosen (Web/SMS/Email, etc) and whether you have chosen to give seperate links to each subgroup or not.
Lets look at each of these in turn:
1. Web Campaign
Web campaigns allow you to share your survey via a link, these can be personalized links to different subgroups, one link that you share to all respondents or a link shared in the form of a QR code.
When you click into your web campaign you will see something similar to the image below. This is your campaign's homepage, and from here you can view your data, edit your campaign and generate links to your campaign.
To copy the link to your survey simply click on the green copy button next to the link.
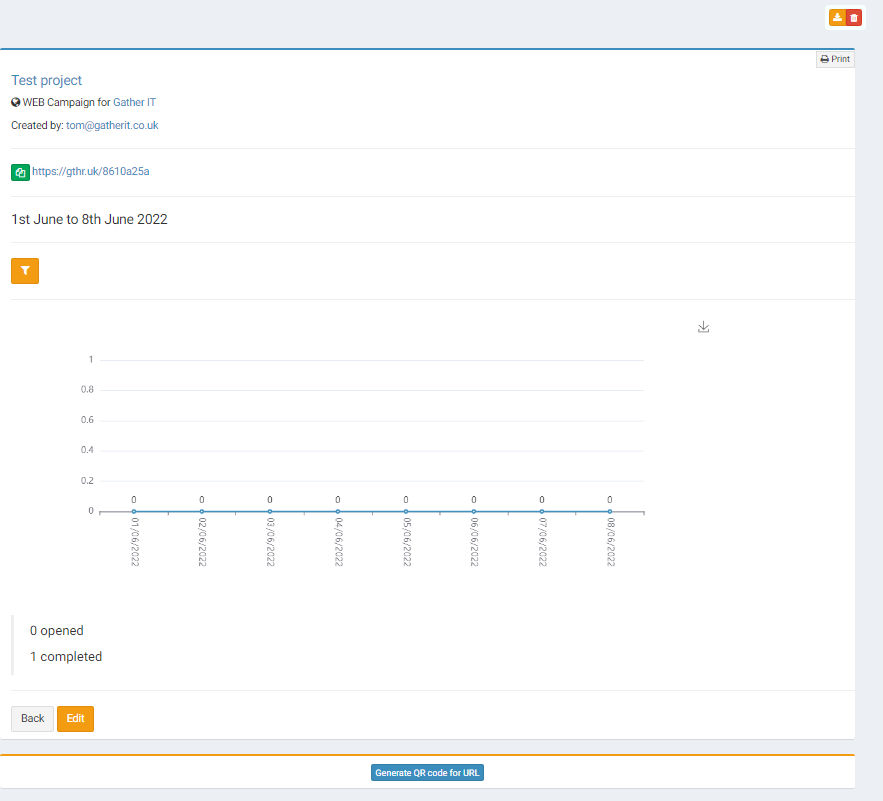
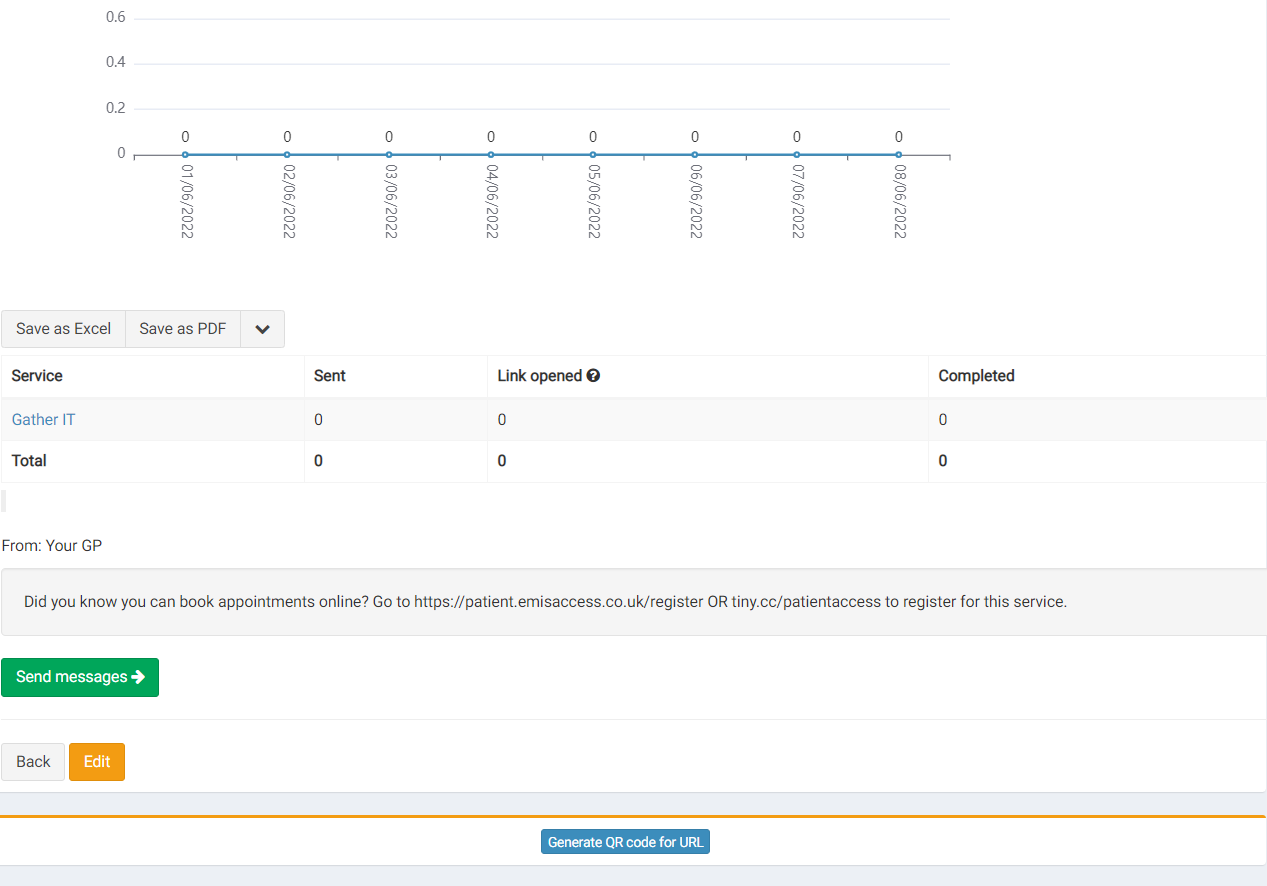
To generate a QR code click on blue button under the graph "generate QR code for URL".
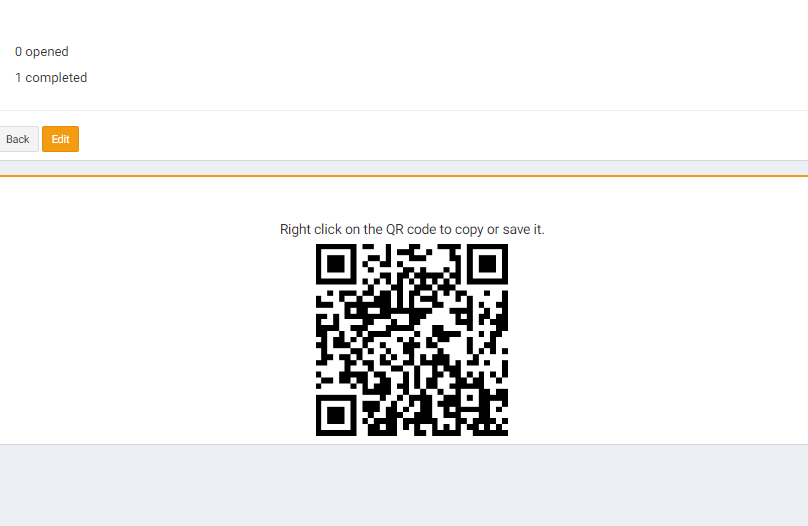
By clicking on the "generate QR code" button, you will generate a unique QR code for your survey. This is high resolution so you can choose to copy and paste this to where ever you wish, incuding having the option to print it out for your marketing collateral (posters,etc.)
2. Email Campaign:
With an email campaign you can send your survey directly to your predefined list of participants. This list is defined when you are setting up your campaign and the email list is prepopulated by the data already stored within the system. In the example below, the campaign is being sent to "Group 1". If you need to update this it can be done through the campaign editing tool under "what services do you want to include".
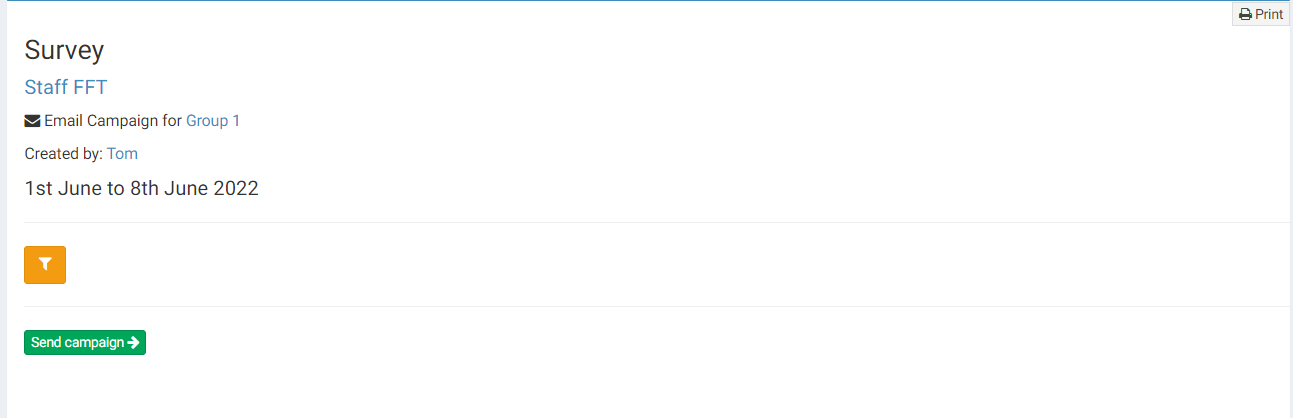
When you are ready to launch the email campaign simply click on the green "send campaign" button.
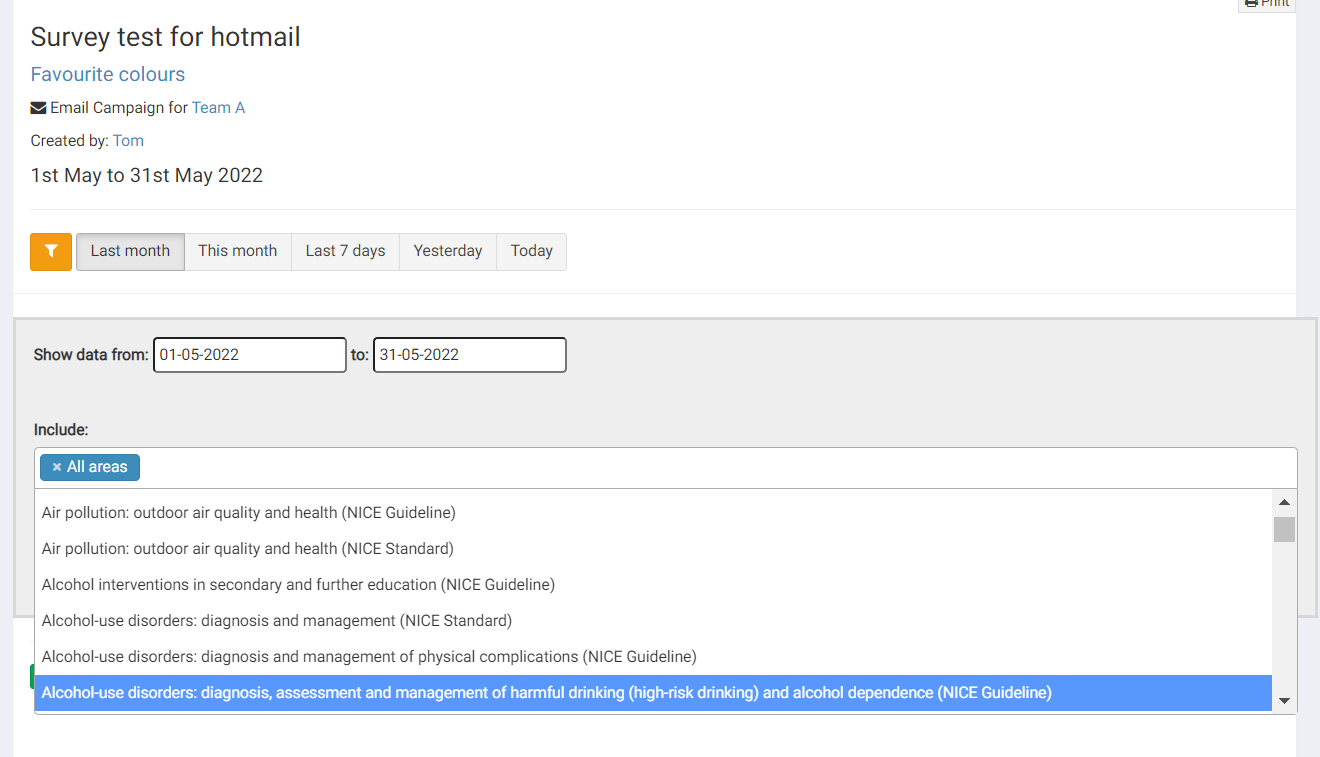
Data can then be viewed and filtered in real time by clicking on the orange filter icon and exported and saved as Excel and PDF as required.
SMS Campaign:
An SMS campaign is similar to an email campaign with the main difference being that you can also manage your SMS credits through your campaign page. You can decide to add credits manually (see example below with "10 credits added"). You can also remove these credits by pressing the red " reset" button, or set credits to unlimited using the blue infinity button.
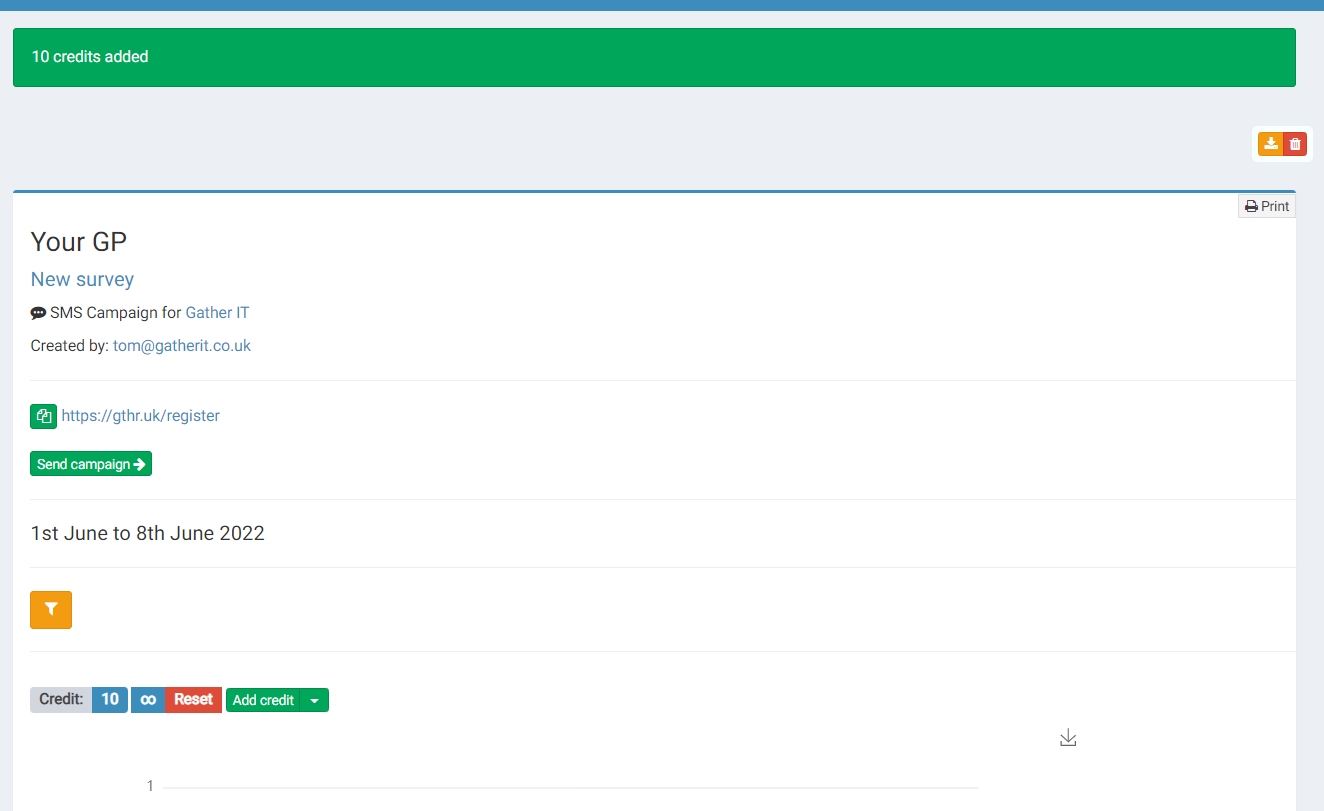
You can also view the message that you added when setting up your campaign and analyse the data (including the surveys that were sent/opened/completed). If you need to change this message this can be done so with the campaign editing tool.
Once you have launched the campaign results are instant and in real time, learn more about viewing campaign results here.